Monday, May 30, 2011

second craft: flower key holder

Thank you so much for the nice compliments on my blog! This is something I've been dying to do and I'm so excited I finally have the time.

To start off this beautiful Memorial Day, I'm going to share a craft my sister and I completed last night. We had SO much fun! My sister isn't really a crafter so I ended up basically doing hers for her but she did add some touches of her own.

I found this tutorial online to make a book page flower key holder. It looked easy enough and once again, I had all the materials at home so we decided to give it a try! Here are our final products:

This is mine. Yellow accents, of course :)

This is my sister's (Shawn). She decided to burn the edges of her flower (consequently almost burning down the house).


You can find the tutorial for this project here. It was very simple to do! As always, I altered a few things to give it my own touch and to use things I already had at home. These are the changes I made:
  1. We didn't have wire hangers at home but we had those cheap clear ones you get at department stores. So Shawn and I cut off the metal part of one of those and just used that! It worked just as well and I like the silver look of the key holder part.
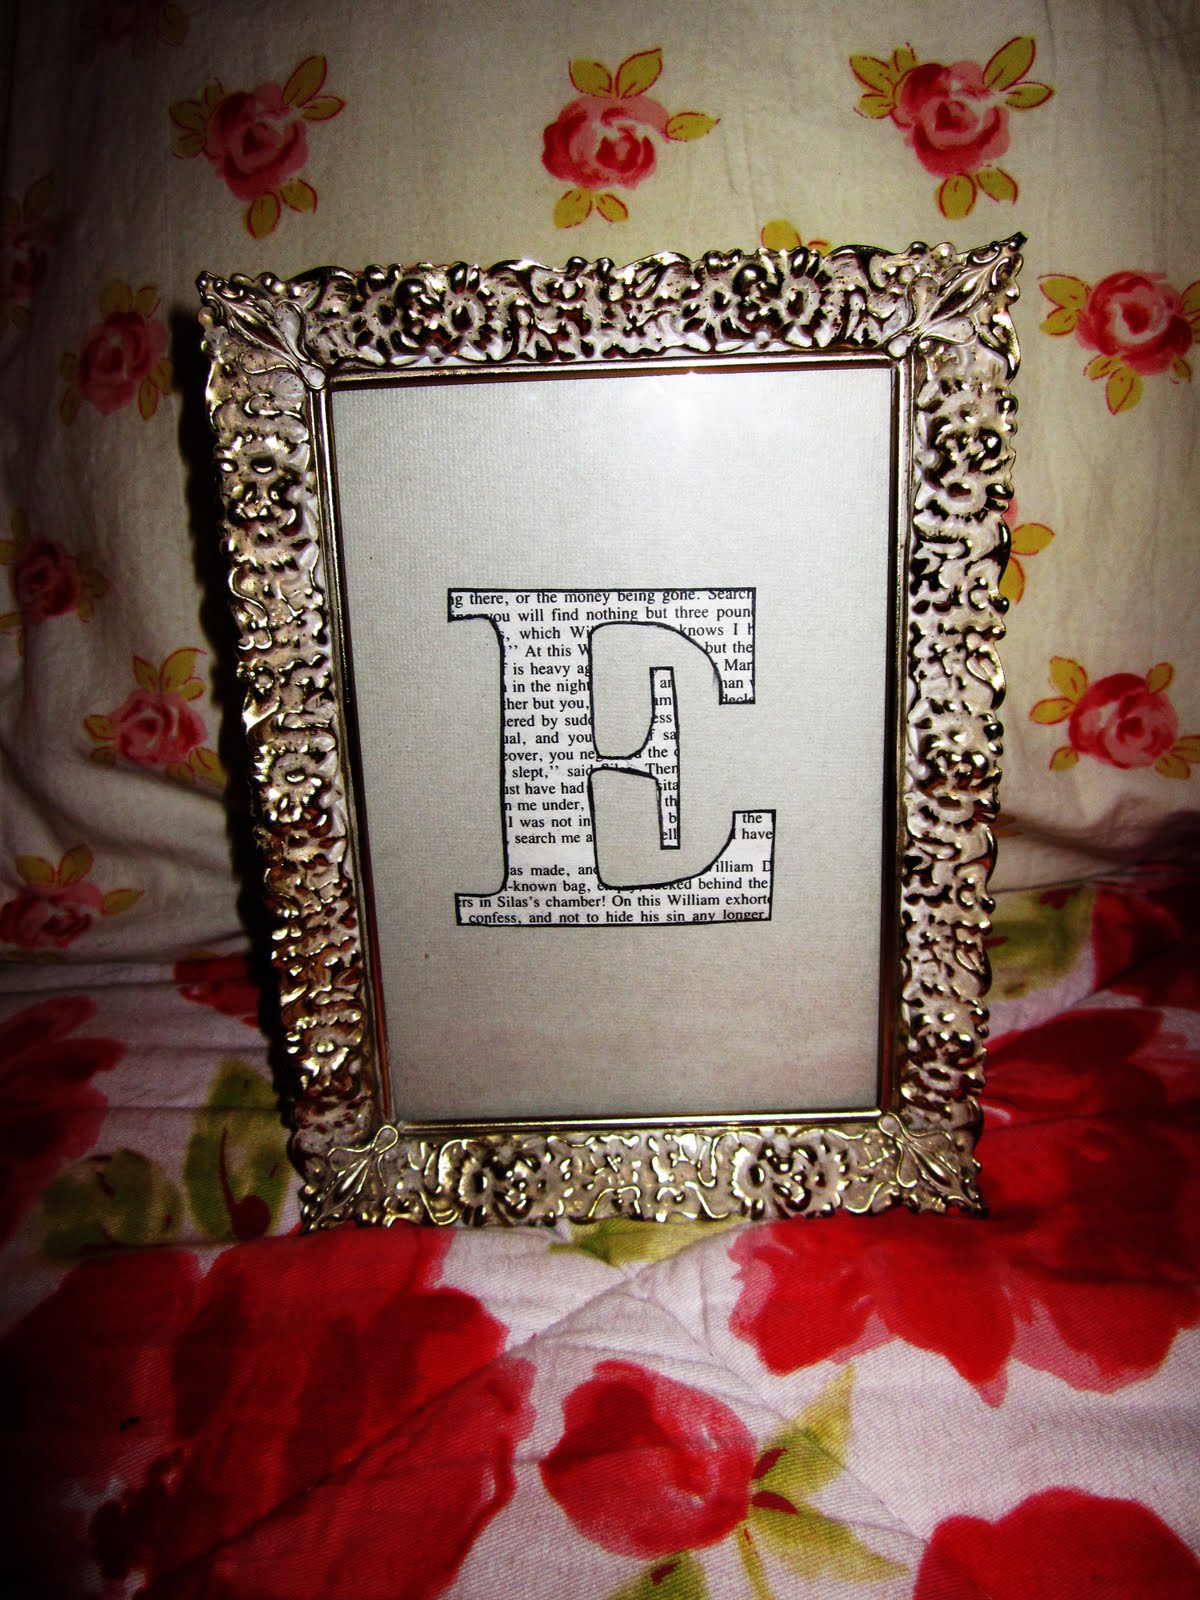
  2. We decided to embellish ours a little more than the tutorial did. We decided to make initials in Microsoft Word with our favorite colors and print them off and put those in the center of our flowers. It was very easy and I like the personalization it gives!
  3. Since we didn't use the wire hangers, we weren't able to make a loop out of wire on the back to hang our key holders. So me being the fabulous and crafty woman that I am (sarcasm), I decided to make a hook out of cardboard. It worked just as well if not better because it could lay flat against the wall where the wire would make the key holder hang away from the wall.
  4. Shawn decided to burn the edges of her flower by just placing it over a candle. I didn't like this look so I chose not to do it but I think it turned out great for her!
and that is how we made our cute book page flower key holders! I even tested them with a pretty heavy set of keys and the key holder held up! I would say this was a huge success and it was EASY.

As always..... Cost: $0. LOVE cute, LOVE free, LOVE crafts!

Happy Memorial Day everyone! Enjoy your day off with your families! :)

the first craft of summer

So this past weekend my mother, my sister, and my brother all went to the beach while my dad and I stayed at home. No, I was not happy about this, but I had class (I'm taking Bowling at MTSU... it is as funny as it sounds!) and a wedding to attend so I just could not attend the beach trip. It was very sad but also gave me some great time to CRAFT! Crafting is one of my favorite hobbies that I rarely have time to do due to school. But now that I am no longer in school, the crafter is back!

I follow this FANTASTIC blog called Jones Design Company. She has 4 children and still manages to do everything she does. She's practically super woman! She has all kinds of design and do it yourself tutorials as well as things you can purchase. I pour over her website daily. I just cannot get enough! Anyway, a couple of days ago she blogged about how to make monogrammed art. It looked easy enough so I gave it a whirl and I LOVE the way the 2 pieces I made turned out. I made an "E" for myself and then an "H" for my family to display.

I realized once I put the letter on the paper that the colors were too similar. So I chose to carefully outline the "E" with a sharpie. I like how it turned out! It matches the frame nicely.

I actually like this one that I made for my family more than my own :) I'm just obsessed with yellow!


I won't blog about how I made these since Emily gives a pretty simple and easy to follow tutorial in her blog mentioned above. However, I will say that I changed a quite a few things from her original tutorial:
  1. I used scrapbook paper instead of fabric and it worked just as well.
  2. I also printed off a letter from Microsoft Word and then hand traced the monogram onto a book page instead of printing directly on the book page like she mentioned and this seemed to work just as well also.
  3. I left off the "established" date she adds to hers.
  4. I didn't matte mine.
I chose to venture from her tutorial and make it my own and I had a lot of fun! and the best part of this project: Cost- $0 (I had all the materials needed at home already) Don't you just love free and cute?! ME TOO! :)

So if you are bored one day and have nothing to do, give this a try! It is SUPER SIMPLE and very inexpensive! I recommend!

I've decided to try it again

Hello everyone!
What an exciting thing this is :) I started a blog back over Christmas Break that I intended to update every day and was so thrilled about. Needless to say, I never updated it. It was just so hard with school to keep up with! But since summer is upon us and I now have all of this free time laying around I have decided to start blogging again. I want to share with you guys all of the fabulous things I'm doing this summer! Most of the summer I will just be working, but I am also going on a trip to..... DISNEY WORLD with my wonderful boyfriend's family which I am SUPER excited about. I also will be completing MANY craft projects over the summer which I will share and any important life lessons, cool things I read, or fun things I find on the Internet will be stored here. I cannot wait to get started!